Timber Decay
The hidden cost in many homes...
Every year large sums of money are spent on repairing the damage caused by timber decay (rot). It can cost several thousand pounds simply to reinstate timber attacked by dry rot in a single house.
A considerable amount of this damage could be prevented if the conditions which favour this type of fungi were more generally understood and precautions taken to inspect for any outbreak.
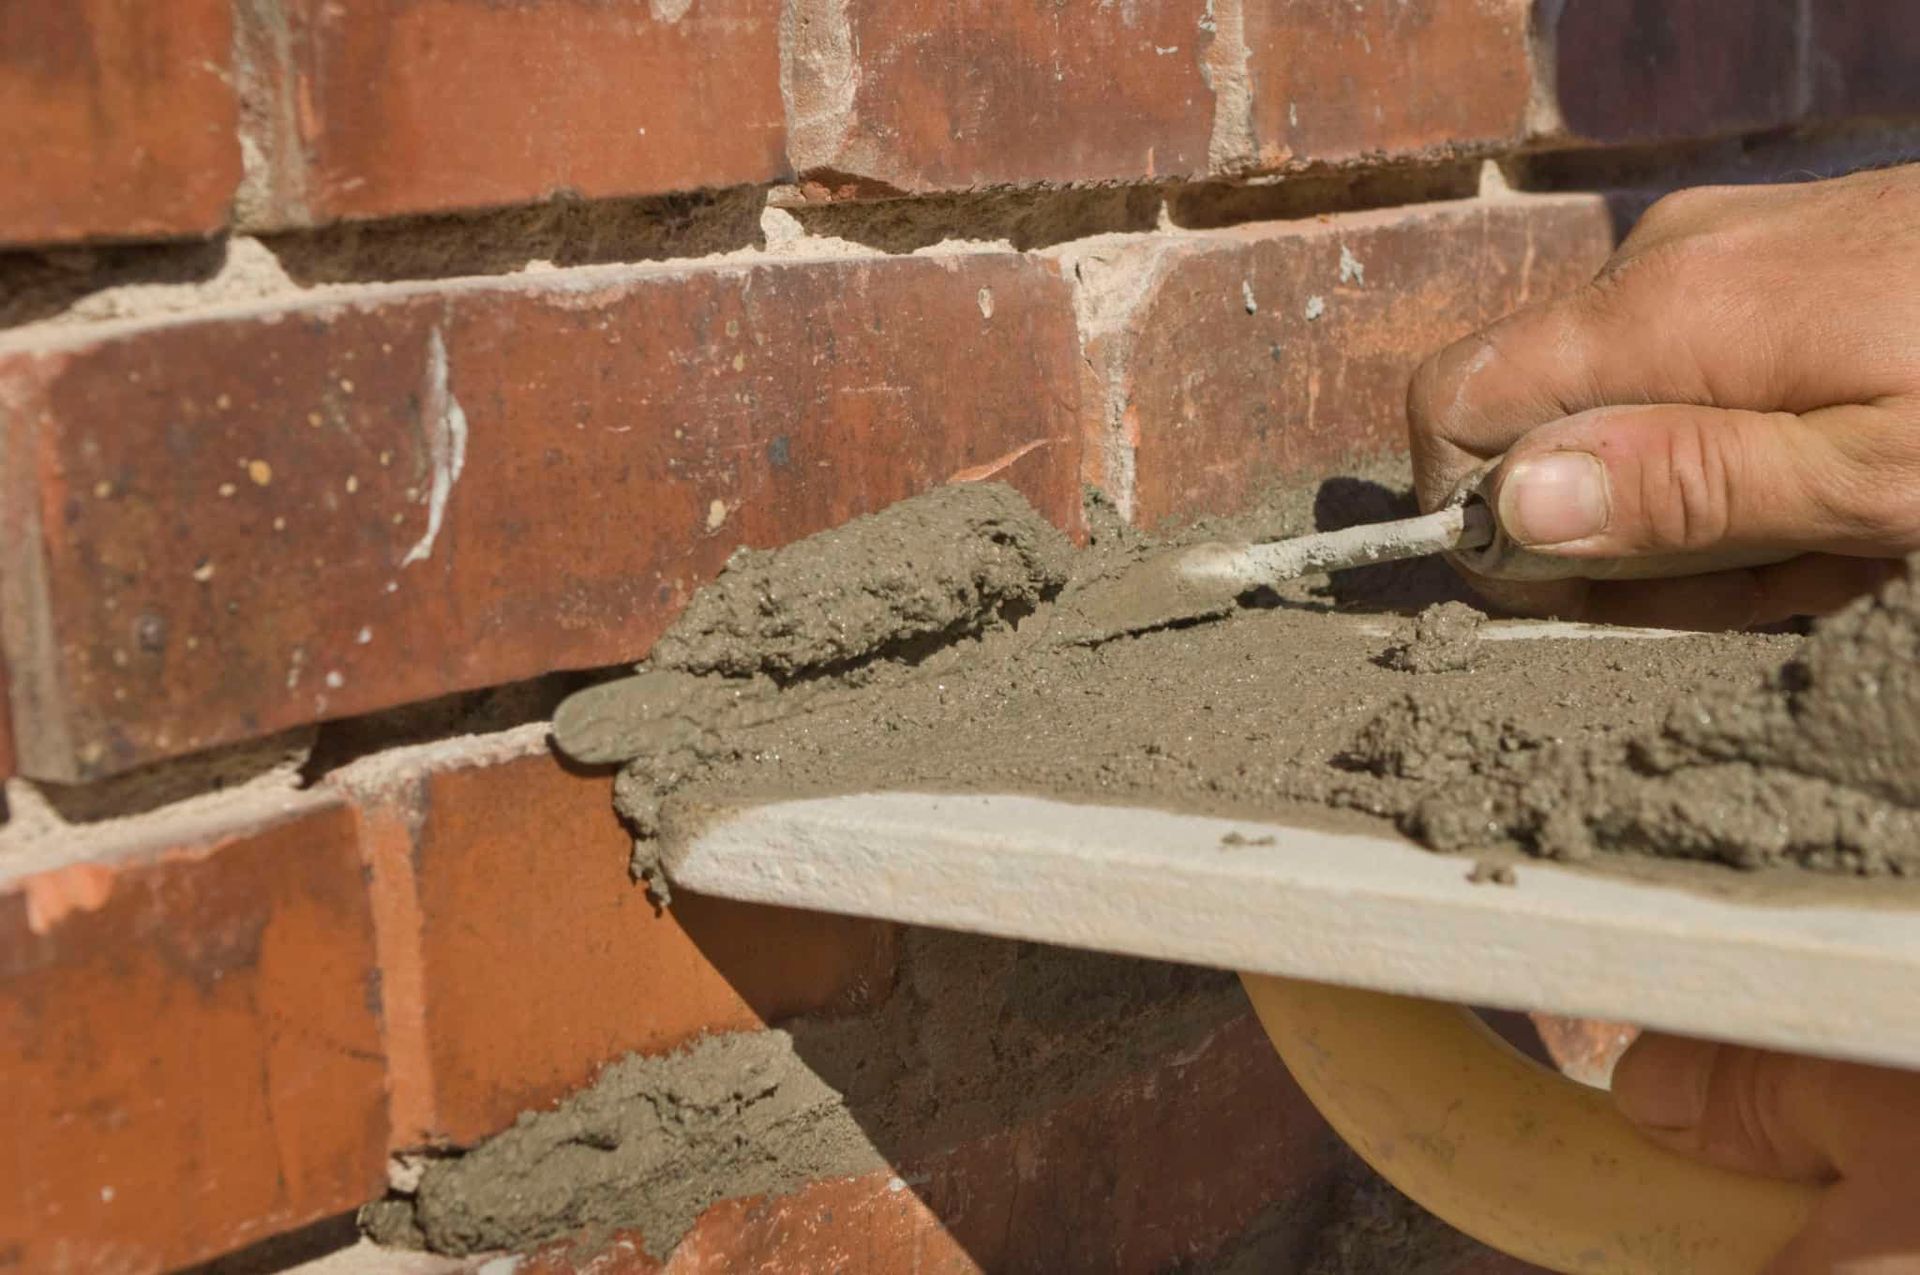
Most outbreaks of dry rot are due to either faulty construction or to a lack of proper maintenance, in particular, defects in the rainwater disposal system. It can exist with no visible evidence on the surface of the wood.
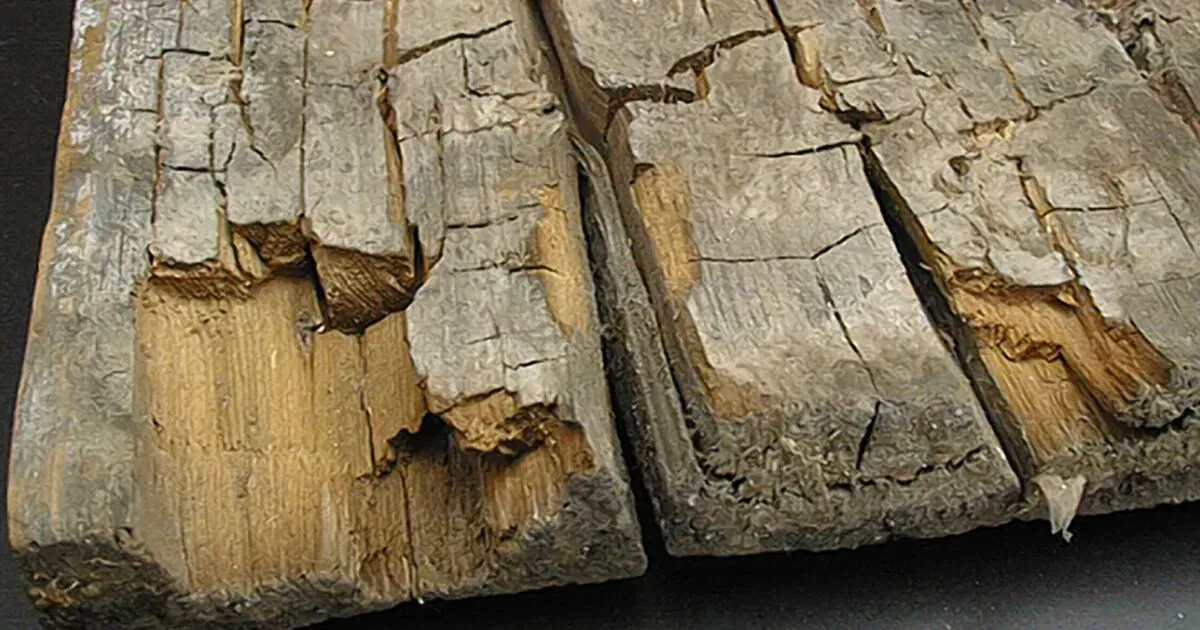
Dry Rot
Dry rot is a common form of fungal decay in timber and one of the most serious.
The fungus feeds on softwood in moist and poorly ventilated areas and in conditions favourable to its growth, it will spread to seek new food sources i.e. sound timber.
It produces very light and minute spores which float about in the atmosphere; they come to rest on timber and destroy the fibres, leading to it becoming brittle and decayed along and across the grain creating a cubed effect on the surface of the timber.
Whilst fungus grows, it forms white cotton wool like cushions with patches of bright yellow and its feelers, that look like tree roots inn pattern, can creep across brickwork, stone, concrete or plaster to attack timber in other positions.
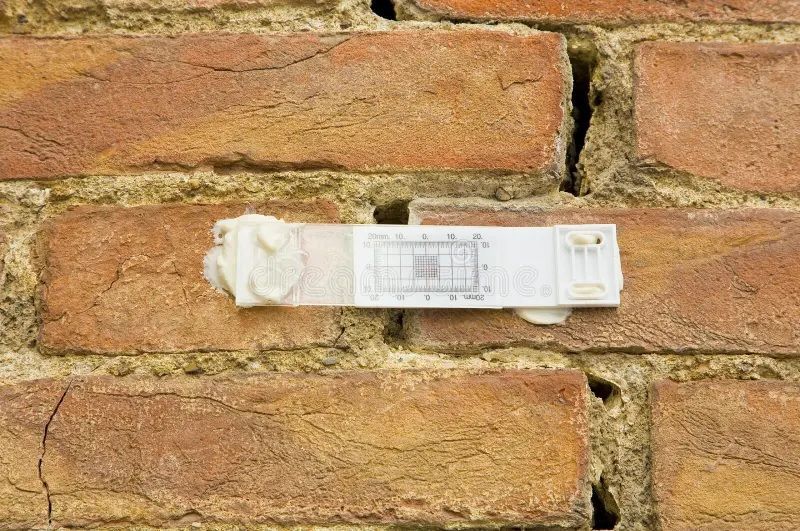
The fungus is likely to attack timber having moisture content in excess of 20%.
The following are areas most likely to suffer from dry rot:
1. In timber ground floor construction where there is no damp-proof course, or the damp proof course is defective and ventilation inadequate, e.g. blocked up or missing air bricks on the external wall.
2. Flat roof construction, which is usually unventilated.
3. Where timbers are built into brickwork or otherwise concealed, e.g. floor joists and timber lintels in old properties.
4. Timbers supporting parapet or valley gutters in pitched roofs.
5. In skirting’s, panelling and internal window shutter boxes in old houses. A slight waviness on the painted face of these materials can indicate that the back of the member has been attacked by dry rot.
6. Behind fixed kitchen wall and base cupboards with poor or no ventilation.
7. In basement construction where there is no damp proofing and poor ventilation.
Usually, the first indication of dry rot is the appearance of fruit bodies or spore dust. The fruit bodies have a fleshy consistency in the shape of a plate, about 300mm in diameter, appearing like a burnt pancake and growing out of cracks in a skirting or wall panelling. If the underfloor joists are badly affected by dry rot it will not always show on the floor boarding, especially if it has been covered with a permanent finish such as linoleum, vinyl or tiling.
A further indication of the presence of dry rot is a musty smell, the decay is well advanced before this occurs.
Wet Rot
Wet rot is the most common of the fungi and requires timber with a high moisture content, usually in excess of 25% to thrive, however, it cannot penetrate masonry and due to this, is usually localised.
Wet rot requires very damp conditions to germinate and a continuous supply of moisture for its existence, therefore, it is not common to find these inside buildings. Once the source of moisture is removed, the fungi will die.
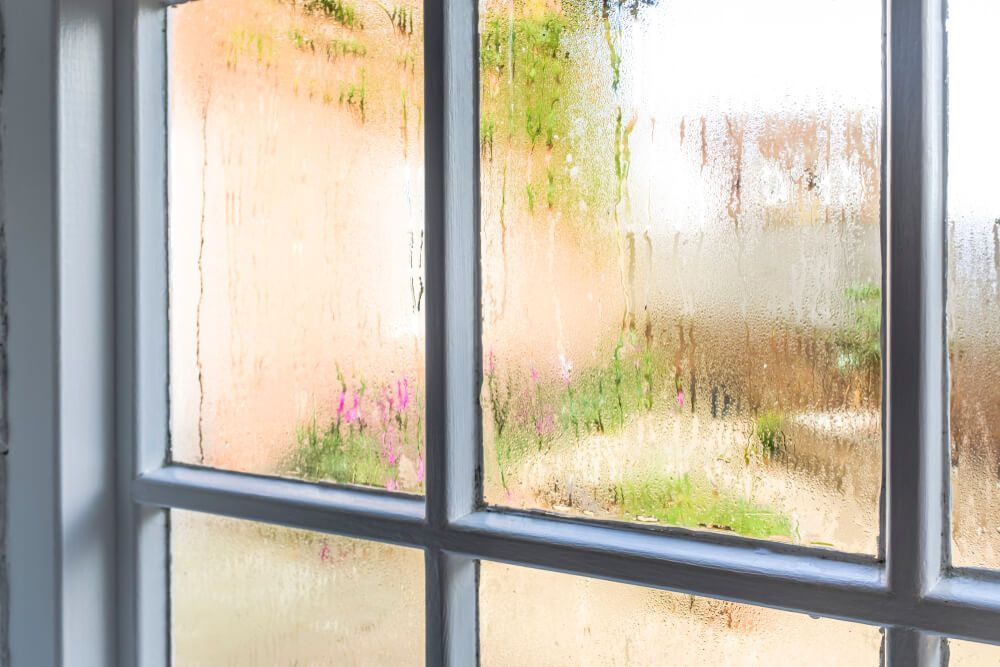
Reports of wet rot in external joinery has increased in recent years. A high percentage of this is the result of rainwater penetration on the external faces and condensation on the internal faces of the element.
Window frames are a common area of damage, as are the cills and reveal boards.
Roof timbers are sometimes affected by wet rot resulting from defects in the roof covering, and this usually requires the replacement of defective timbers. The most vulnerable areas in a roof structure are under gutters and built in timbers. Built in floor joists are also at risk.
If you feel you may have timber decay or you feel your property is at risk, contact us.
Helpful Guides and News