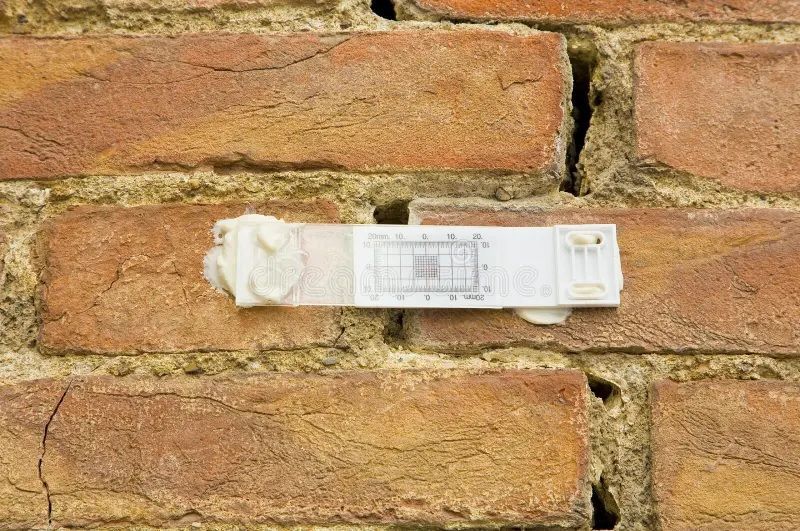
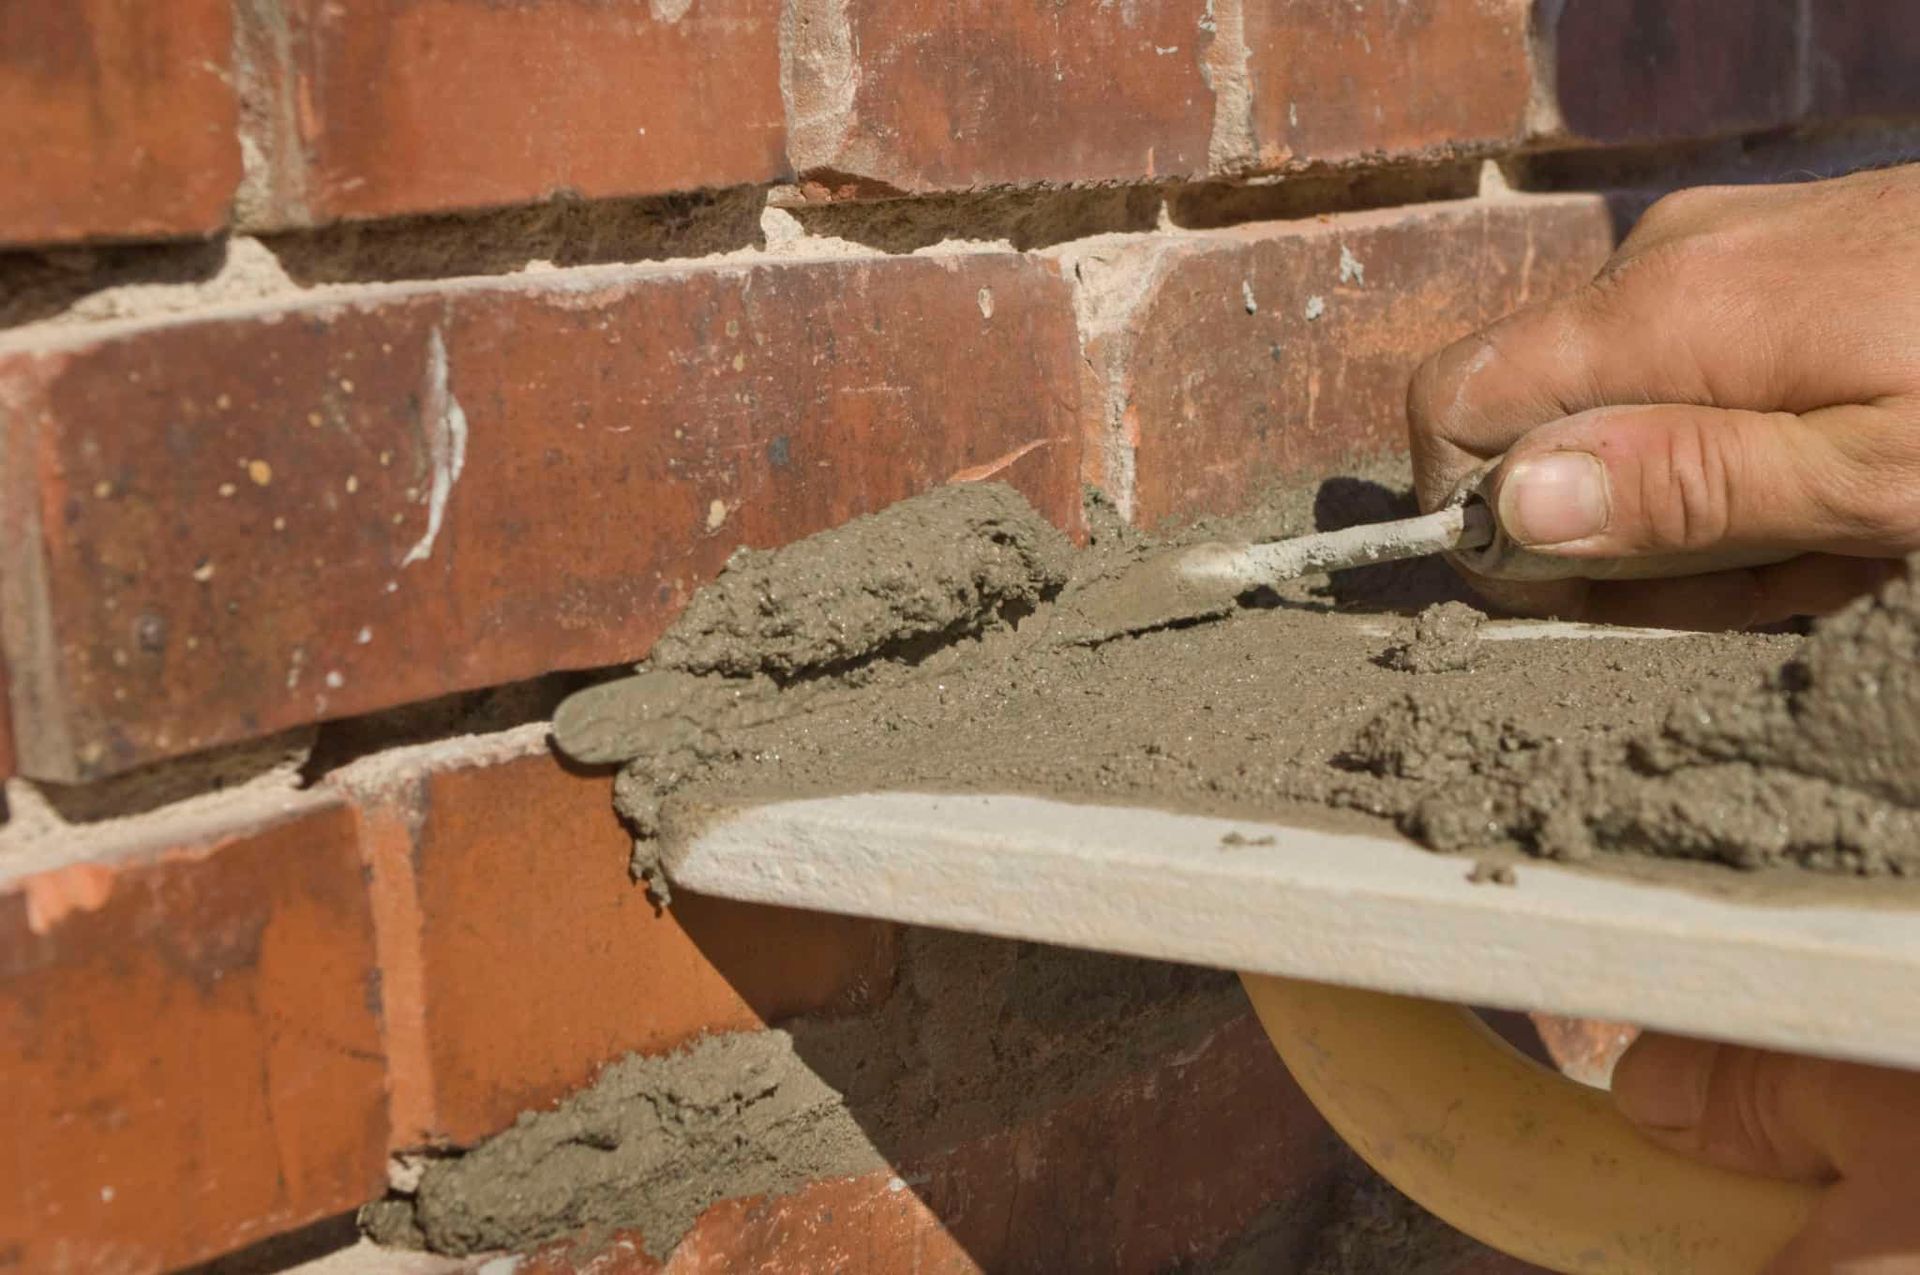
It's important to keep on top of pointing to help protect your home and to improve its' aesthetic appeal so we have put together this guide on how to repoint brickwork in 6 simple steps. Generally it is recognised that well-built brickwork requires little maintenance, however as a building ages the mortar will start to decay through natural causes or structural movement. In the event of the above, re-pointing of the brickwork will be required. Ideally, re-pointing should not be undertaken during the winter as there is danger of frost, but, if there is a need to undertake re-pointing in winter, the work needs to be covered against the elements. Re-pointing should commence at the top left hand corner of the area to be re-pointed, working across and then downward. It is advisable to work on 2m² at a time. There are several types of joints for brickwork. For general re-pointing to external brickwork the “weather struck” and “weather struck and cut” joints are most satisfactory for weathering. For older brickwork it is normal practice to try and repeat the original type of joint finish. These are usually a “flush joint” or a “round joint”. The mix of mortar is an essential part of successful re-pointing and the mix should be carefully chosen to suit the brick type, appearance and exposure conditions. General applications: 1:1:6 (cement/lime/sand) Softer facing brick: 1:2:9 (cement/lime/sand) Hard dense bricks in exposed locations: 1:0.5:3 (cement/lime/sand) A soft washed or silver sand is best suited to re-pointing work. The following is a brief outline of the re-pointing procedure. Specification: 1. Rake out the vertical joints of the brickwork then the horizontal to a depth of approximately 15mm. The remaining mortar but be square. 2. Thoroughly brush the joints with a stiff brush to remove any dust or loose particles. 3. Dampen the surrounding area in order to reduce the suction of the existing mortar and bricks. Be careful not to soak the brickwork. 4. Filling the vertical joints (perpends), first press the mortar in and tuck it into the bed joints above and below the perpend. Next fill the bed joint and bound the perpend. Only a small number of perpends should be completed in advance of the bed joints. 5. During pointing, only a relatively small amount of mortar should be mixed to prevent mortar drying out. Never reconstitute the mortar with more water. 6. Once joints are filled, they should be tooled or cut, according to the type of joint to be used. Brush away loose material with a soft brush. If the re-pointing is a result of a crack to the wall, it is suggested that the crack is not pointed independently but a panel surround the crack is re-pointed in order to match the re-pointing with the existing. It is advisable to test the mortar in an out of sight area and let it cure to ensure a good match with the existing mortar is achieved. If the above brief guide is followed, effective re-pointing should be achieved. The information provided should only be used prior to discussions with, and approval of, a qualified professional and re-pointing should only be undertaken following correct diagnosis. For expert advice and surveying services contact us: Cowie Consulting Limited 01325 480 424 info@cowieconsulting.net Here are some examples of poor pointing that we have come across recently which could potentially cause problems such as internal damp or eventual failure of the brickwork, therefore it's important to keep on top pointing to protect weather performance and the integrity of your home.
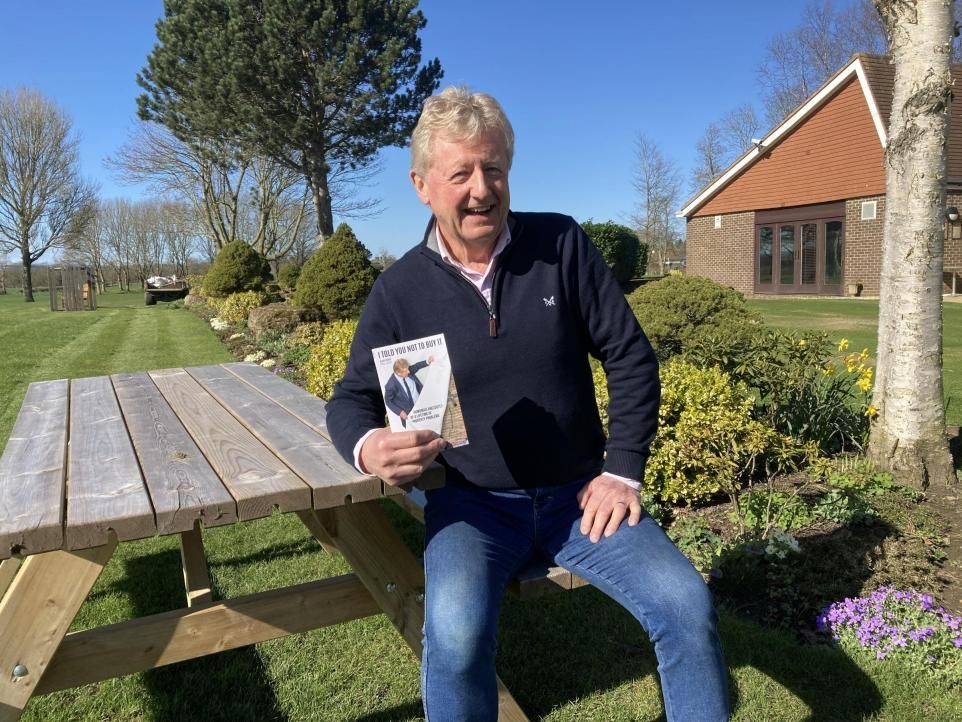
Alan Cowie with his book in aid of Macmillan Cancer Support (Image: Peter Barron, Northern Echo)